Saturday, April 26, 2014

Special Ops: Spring in a Tin

Banners are a fun Home Decor item that scrapbookers have made into their own type of wonderful. But where do you put a banner when you don't have a convenient mantle? And how do you store a banner so that it can be displayed again later?
Todays Special Ops has an answer for that!
 
 
This project started with a 75 cent tin
and a few of my favorite punches.
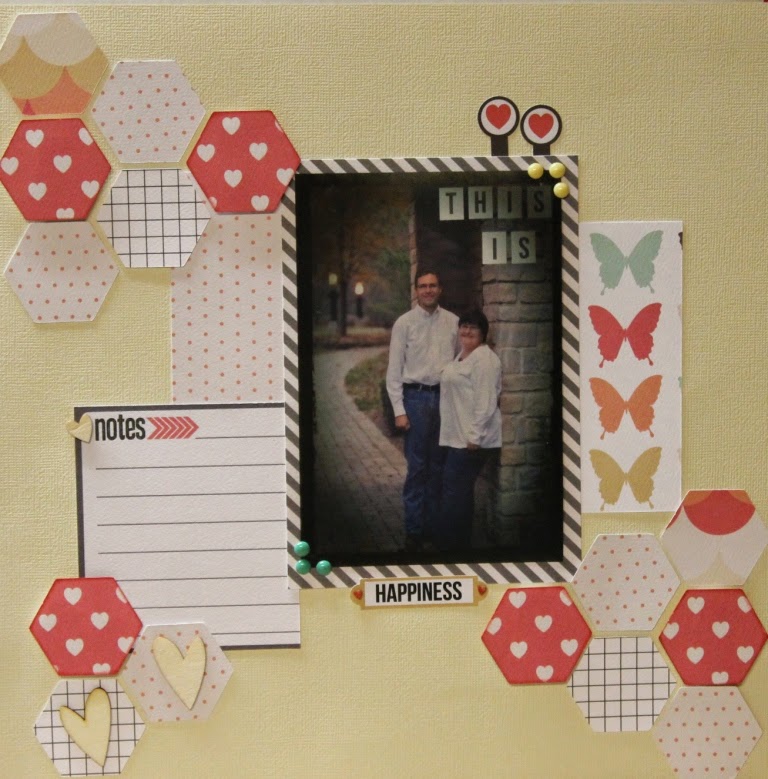
First I punched butterflies, flowers, and doilies
from a variety of sweet spring prints.
 
This tin is charming but a little too cutesy for me.
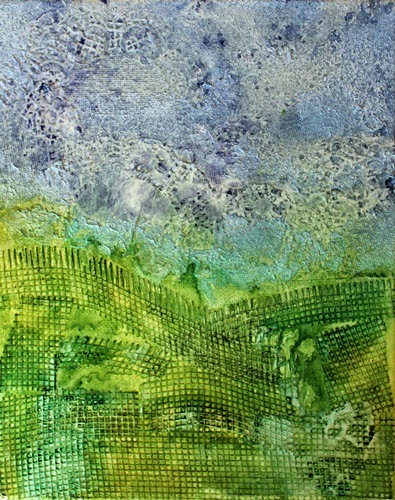
I painted the rim and the edges of the base green then added patterned cork.
 
Next I punctured the lid and the base of the tin with my paper piercer. I tied a knot in a generous length of twine and pushed the other end through the base of the tin.
I the punched shapes onto the twine, pushed it through the lid, and tied a knot.
 
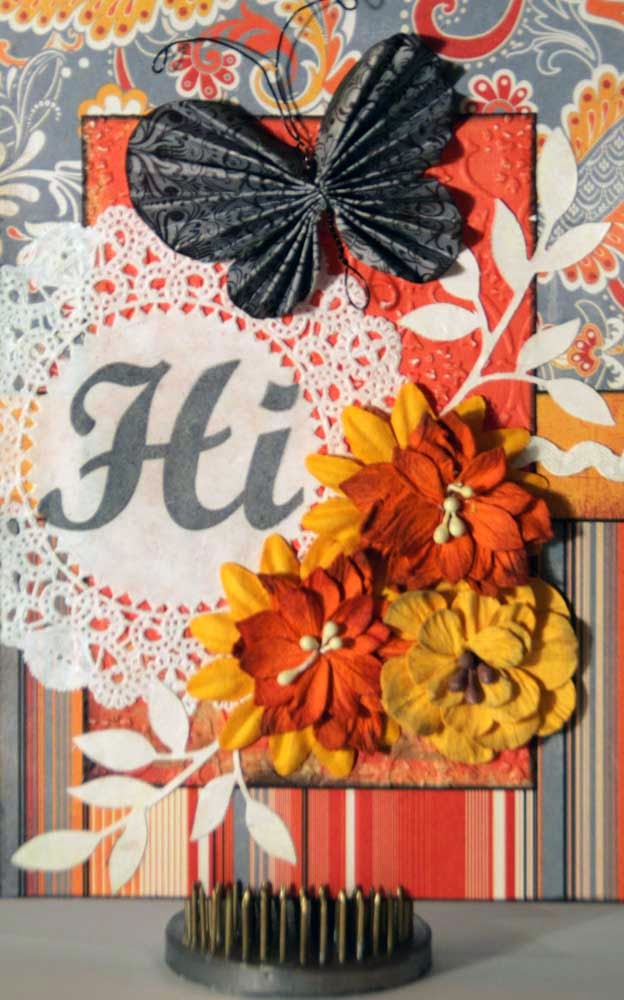
I decorated the lid of the tin with a
 felt flower and a paper doily.
Now I can press a couple tacks into my wall, loop the banner over them, and display it with ease. When it's time for a change in decorations my banner slips easily into the tin and can be put away for later.
 
Check my blog, Scrappin' Chaos for a list of supplies used.
Scrap On!
~charity~  


Wednesday, April 23, 2014

Hump Day: Created for you by Michele


Happy HUMP Day!!!
 
Michele with stuff by belle here today...have you been is a scrappy slump lately??  Well I have and no matter how many time I went down to my 'lair', as my friend Amber would say, I wasn't inspired...and then SUDDENLY it hit me!  I just picked up a new Quickutz die and had an idea!
I made these 2 cards lickety split all with scraps of paper from my scrap bin.


MME, Authentique and Bazzill Basics paper scraps, Viva Las Vegastamps! sentiment stamps, bits of UmWow Studio chipboard confetti, May Arts burlap twine and Tattered Angels glimmer list.


Clean and simple, quick and easy and I love how they turned out.  Feather are fun!

If you are like me and have been in a slump or even if you're not, I hope you are inspired to crafty today!!  Thanks for stopping by and we will see you soon for our next drill!

Saturday, April 19, 2014

Flower Drill #30

Drill#30: For this drill you must create a project using something that starts with each of the following letters:

F L O W E R
**You will need to have a items starting with each letter of the word. Each item you list, needs to represent a different part of your layout (For example, you can't use white ribbon then use White for W & Ribbon for R.) 

Make sure you let us know what items  you used and remember this challenge can be combined with any challenge so have fun! And please remember to link back to us here at S.W.A.T.

And just to get you started Paper Secrets is offering $15 Gift Card to one lucky winner!!

Now as if that wasn't enough to get you in your scrappy zone! The S.W.A.T. TEAM has some amazing inspiration to get you started!!


        F-Floral Bead 
         L-Lace Boarder 
        O-Onyx Button 
        W-White leaves
   E-Eyelet 
R-Rose

      F:Fabric, Flourishes, Fussy Cutting 
L:Lined Paper
O:Orange 
W:White Roses 
E:Echo Park alpha
 R:Rub-Ons

F: Floss 
L: Lens 
O: Ombre 
W: Watercoloring 
E: Enamel Dots 
R: Rhinestones

F:  Fire photo
 L: Leaf stick pin
 O: Orange cardstock
 W: Washi tape
  E: Earthtones
  R: Rubons

Terri

F -favorite paper/fuschia
 L - lined journal card
O-overlay
W- Wood
E - expoxy 
R - red chalk

Venetia
F- Fussy Cutting 
L-Lettering by Hand 
O- One Photo 
W- Washi 
E- Enamel Dots 
R- Ribbon

F-Flower  
L-Leaves  
O-Orange  
W-Wire  
E-Emboss  
R-Ric Rac

Lanette
F-Frame
L-Lace 
(its there I promise under all that paint :)
   O-Orange
             W-Wood Veneer
            E-Enamel Dots
R-Red

Now it's your turn, just link up your project by April 30th for your chance to win an amazing prize from the Paper Secrets!! 

Thank you so much for stopping by today! 
Remember to come join us on our Facebook Page!

Wednesday, April 16, 2014

Hump Day!


Hello All! Lanette here today!

As you may know Earth Day was founded in 1970 as a day of education about environmental issues, Earth Day is now a globally celebrated holiday that is sometimes extended into Earth Week, a full seven days of events focused on green awareness. So with Earth Day rapidly approaching I thought I would share a canvas that I created using recycled plastic bags.. Yes these bags!


As you can see I started by ripping the bags into long strips. I then glued them to the center of a paper circle. From there I just rolled, twisted and glued. They ended up looking like this:
 
Next I added a layer of gesso and some bright Art Anthology Colorations Spray & a tiny bit of stamping.

While my tops dried I went to work on my canvas adding doilies, mesh and heavy gesso for lots of yummy texture! Then I used so more Art Anthology Colorations Spray to create my landscape. 
 
 
After everything was dry I added my assembled my trees and added my quote. With a bit of stamping I was done!
 

Some details for fun :)


So this Earth Day (and everyday) I will try to keep this quote in mind and strive to make some greener choices. But hey if I slip up and bring home more plastic bags at least I know I can make some pretty trees!

Thanks so much for stopping by today!

 If you liked my recycling project hop on over to 
Practical Scrappers and check out this months Frugal Finds Projects.


Other Products Used: Bo Bunny Doilies, White Mesh, Faber Castell Pitt Markers, Heavy Gesso, Acrylic Black Paint, Prima Stamps, Decoupage, Hot Glue and some Plastic Shopping Bags.

Saturday, April 12, 2014

Basic Training


It is April already and I hope that wherever you are spring is making an appearance, FINALLY!
Michele with Stuff By Belle here on this fine Saturday to share a technique that is new to me and I am loving it!!  It is an embossing technique that incorporates ink, it is fun and has unlimited possibilities.


You will need an embossing folder, a brayer and some ink.  Of course you will need whatever machine you typically use to run your embossing folders through, I use a Big Shot.  Oh and a piece of cardstock...


Roll ink on your brayer.


And then roll the ink on your embossing folder.  Depending on the look you are going for you can ink the embossing side or the debossing side.   For this example I inked the embossing side.


Put you cardstock in and run through your machine just like you normally would.


Fun right?!!! and easy too!!!

I knew I was going to make a card so I went ahead and sprayed some seam binding with matching mist. 


Here is the finished card.


I did another one just for fun with a different embossing folder.


This is a great technique for a fast and CAS card that still wows with color!!


Both of these sentiment stamps are from Viva Las Vegastamps!

Thanks for sharing a part of your day with us here at SWAT!!  

As always we look forward to seeing what you create!!
Make sure to stop back next week to see what our second drill for April will be and make sure you link up to win!!

Wednesday, April 9, 2014

Hump Day


Hi,Bev here today to share an easy card with just a slight slant.
Also going to share how to make this cute small bouquet of flowers.


Here is the slightly different but easy base to share on this one.
Start with a 4" x 12" card base.
Score at the 4" and 8" mark.
On the front panel cut the diagonal line from one corner to the opposite corner.
Now how easy is that.
Decorate as you like except here is how to make the floral bouquet accent.


Supply List:
2 - 4  floral stems
Lace or ribbon.. a good length for wrapping 

On the left side of the above photo is my chosen cluster and I twisted the
wires to hold the flowers in place. Also you cut the wire to desired length.


In the above photo you can see I tied a know near the top under the flowers
 and left enough ribbon length to be able to tie a bow.
You take the long end then and wind it around and around down to the bottom of the wire.
You then start back up the stem the same way to the top again.


At the top you then tie a small but too cute bow to finish off your cluster of flowers.
 
It is ready to mount on any project.
 
Thanks for stopping by.. enjoy.

~Bev


Saturday, April 5, 2014

Drill #29 S.W.A.T. BINGO


we challenge you to mix up your supplies and techniques and pick a row to create your project.


Make sure you let us know what row you used and remember this challenge can be combined with any challenge so have fun but please don't forget to link back to us here at S.W.A.T.

And just to get you started Paper Secrets is offering this prize pack up to one lucky winner!!

http://www.papersecrets.net/

Now as if that wasn't enough to get you in your scrappy zone! 

The S.W.A.T. TEAM has some amazing 
inspiration to get you started!!
Horizontal line #4

Horizontal Line #3
Vertical Line #2 
stars, stamp, 4 manufacturers, modeling paste, mist

Lisa P
Vertical line #4

Terri
Vertical line #1

Becci M
Diagonal line #1

Venetia
Vertical Line #2 
stars, stamp, 4 manufacturers, modeling paste, mist

Claude
Vertical line #1

Horizontal Line 1

Lanette
Horizontal line #4
Blue, Modeling Paste, Stitching, Doilies, Tag

Now it's your turn, just link up your project by April 30th for your chance to win an amazing prize from the Paper Secrets!! 

Thank you so much for stopping by today! 
Remember to come join us on our Facebook Page!